Today I’ m going to show you how I play my photo with action and textures. If you don’t know anything about action and textures, you may read all about it here and here.
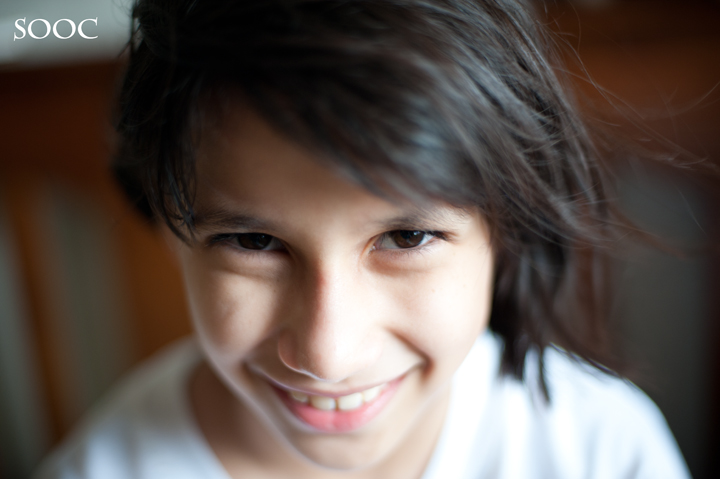
This is a SOOC (Straight Out Of Camera) picture. I shot it with my 50mm 1.4 lense.
I did not do a lot of tweaking for this photo. I used The Eye Doctor by MCP Actions to highlight the eye area for some sharpness. Then I ran the Florabella BW Champagne from Florabella Collection for the B/W effect and reduced the opacity to 10%. Next, I place the Chardonnay Texture also from Florabella Collection and changed the blending to Soft Light and set the opacity to 60%.
To remove the textures from selected areas in your photo, I discovered in flickr forum an easier way to do it. You need to have basic photoshop knowledge for this process.
First, use the lasso tools to select the area. Right click in the selected area and choose feather. Set it to 50 pixel. Next go to filter and choose Blur/Gaussion Blur and adjust the opacity to your liking. Sounds very tedious but it’s actual very easy. So after all the process above, this is what I get. All this was done in Photoshop Element 9.
One more……
The links for all the “need to have” actions/textures:-
Wow, it’s already eleven am and I have yet to take a shower!! hehehe….ok, I hope you can understand the process and use it. If you have any questions or comments, feel free to leave it here. BYE!!!!!!!!!!!!!!!!


u did a great job.wish i can learn editing etc from u.love ur photos so much 🙂
Thanks effi.